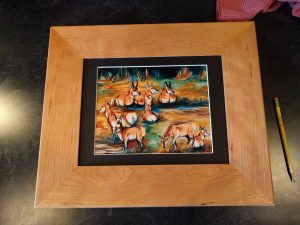
This year for Christmas we drew names among the family, and I drew Megan's name. For her gifts I mainly focused on buying local, including some locally made art. One print I got did not come framed so in keeping with the "local" theme I wanted to make my own frame.
I set out for something simple since I've never made a picture frame before and I only had 1 day to get it done - I didn't want to get caught up in the details. I decided to use some cherry I had in the garage and drew something up in Fusion to get a feel for the look. I went with a 3" wide frame with a simple face bevel (about 5 degrees):
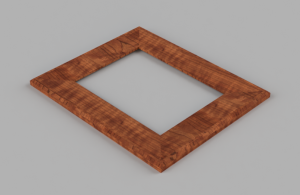
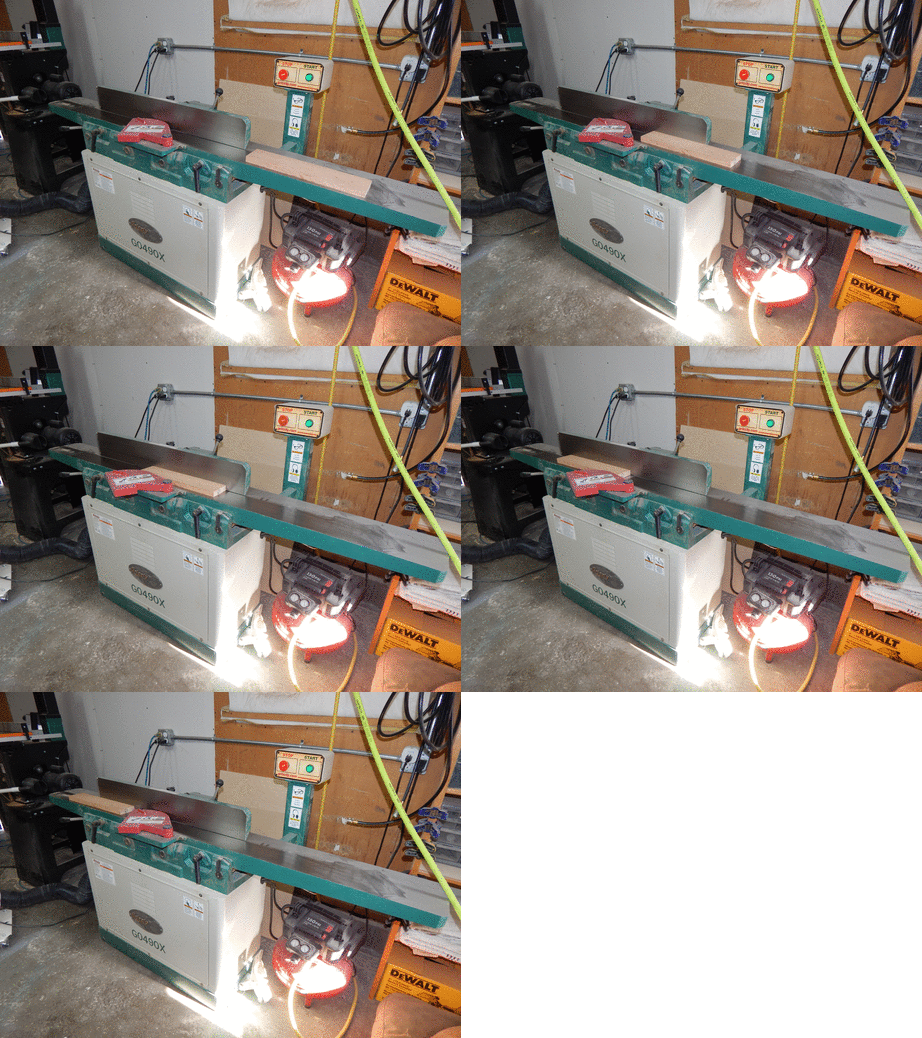
That looked pretty good to me so I got started by milling up the cherry:
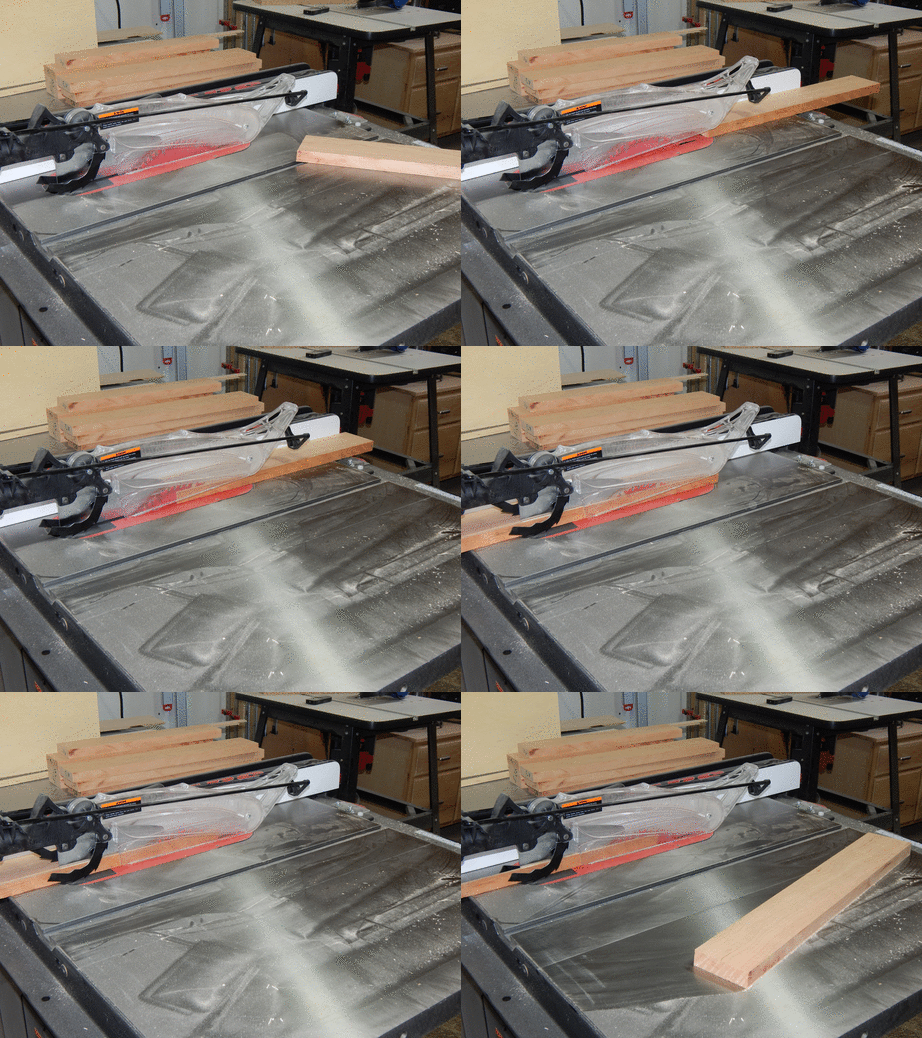
And ripped to final width:
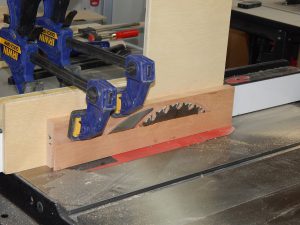
The next operation, cutting the face bevel, was a little tedious using an old fence sled I used in the past for cutting tenons. Had I had a need to cut more than a few of these I would have come up with a better jig/sled, but as it was this worked okay:
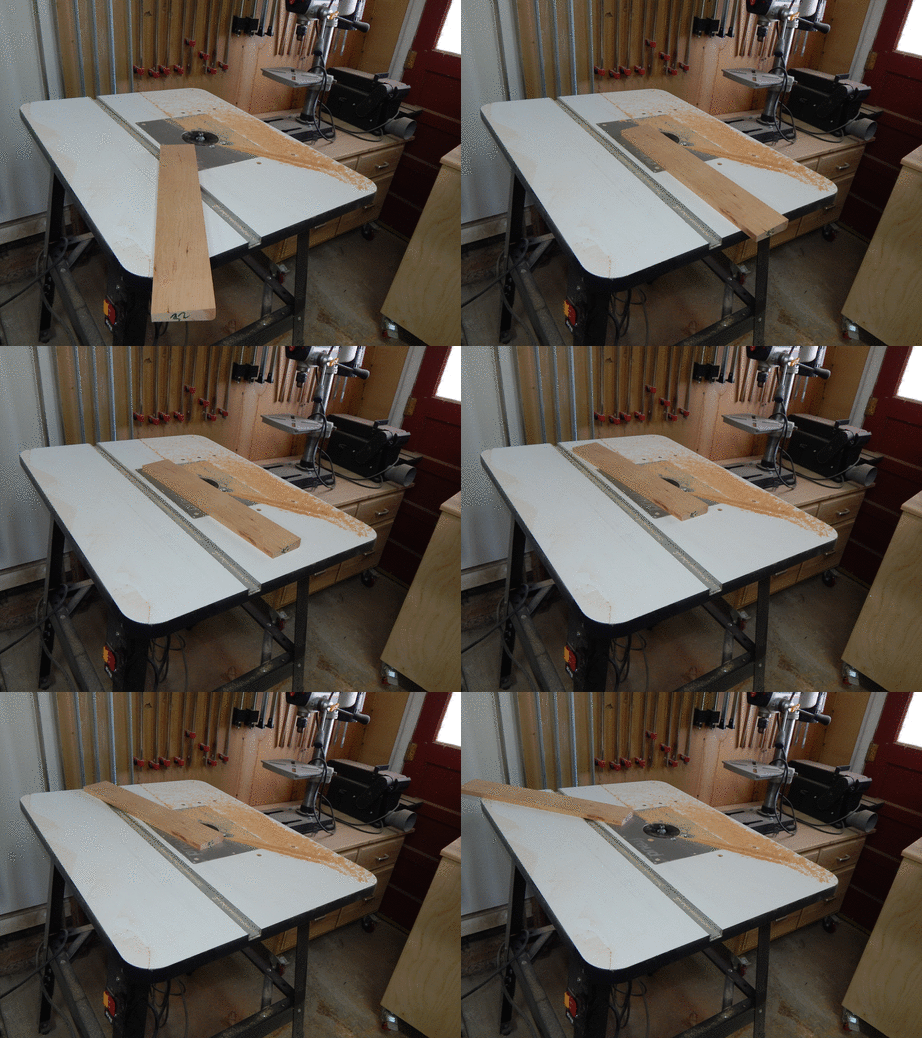
And over to the router table with a 3/8" round over bit to blend in the outside edge to the face bevel:
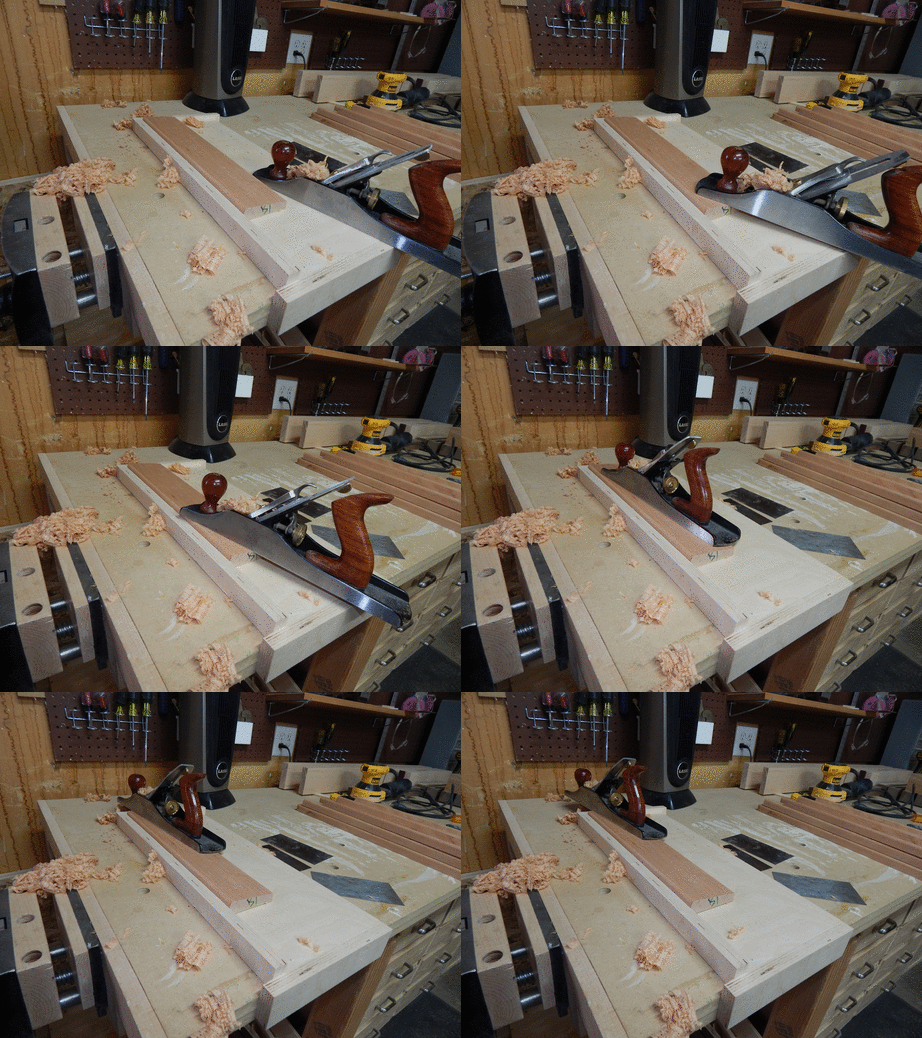
Cutting the face bevel caused some burning so a few passes with the hand plane cleaned that up pretty nicely:
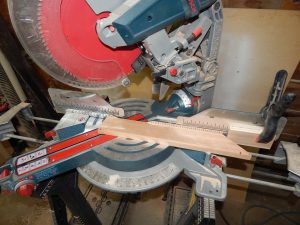
And cutting each piece to final length with 45 degree miters:
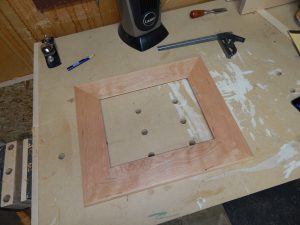
A quick dry fit showed some small gaps (the miters ended up slightly over 45 degrees), so I had to hit some spots with a block plane to finesse it all into place.
Glued it up, sanded it, and threw a couple coats of spray on lacquer that night. The next morning it was ready to go after mounting the print:
